Let me start off by saying I have never stained or done woodwork of any type. (I have painted a couple pieces.) I have observed Paul or his dad or grandpa working on projects, but even that exposure has been limited. And I chose this project as a trial run. Heh. Nothing like taking on something small to see if I can do something!
And I am going to point out that Paul didn't help with this project. At all. I asked him later, after I was finished, why that was. I didn't know if he was being a jerk, or being like a good parent - standing back and making me do it on my own. He said it was more of a matter of he had no idea what I was envisioning, so he just let me do my thing.
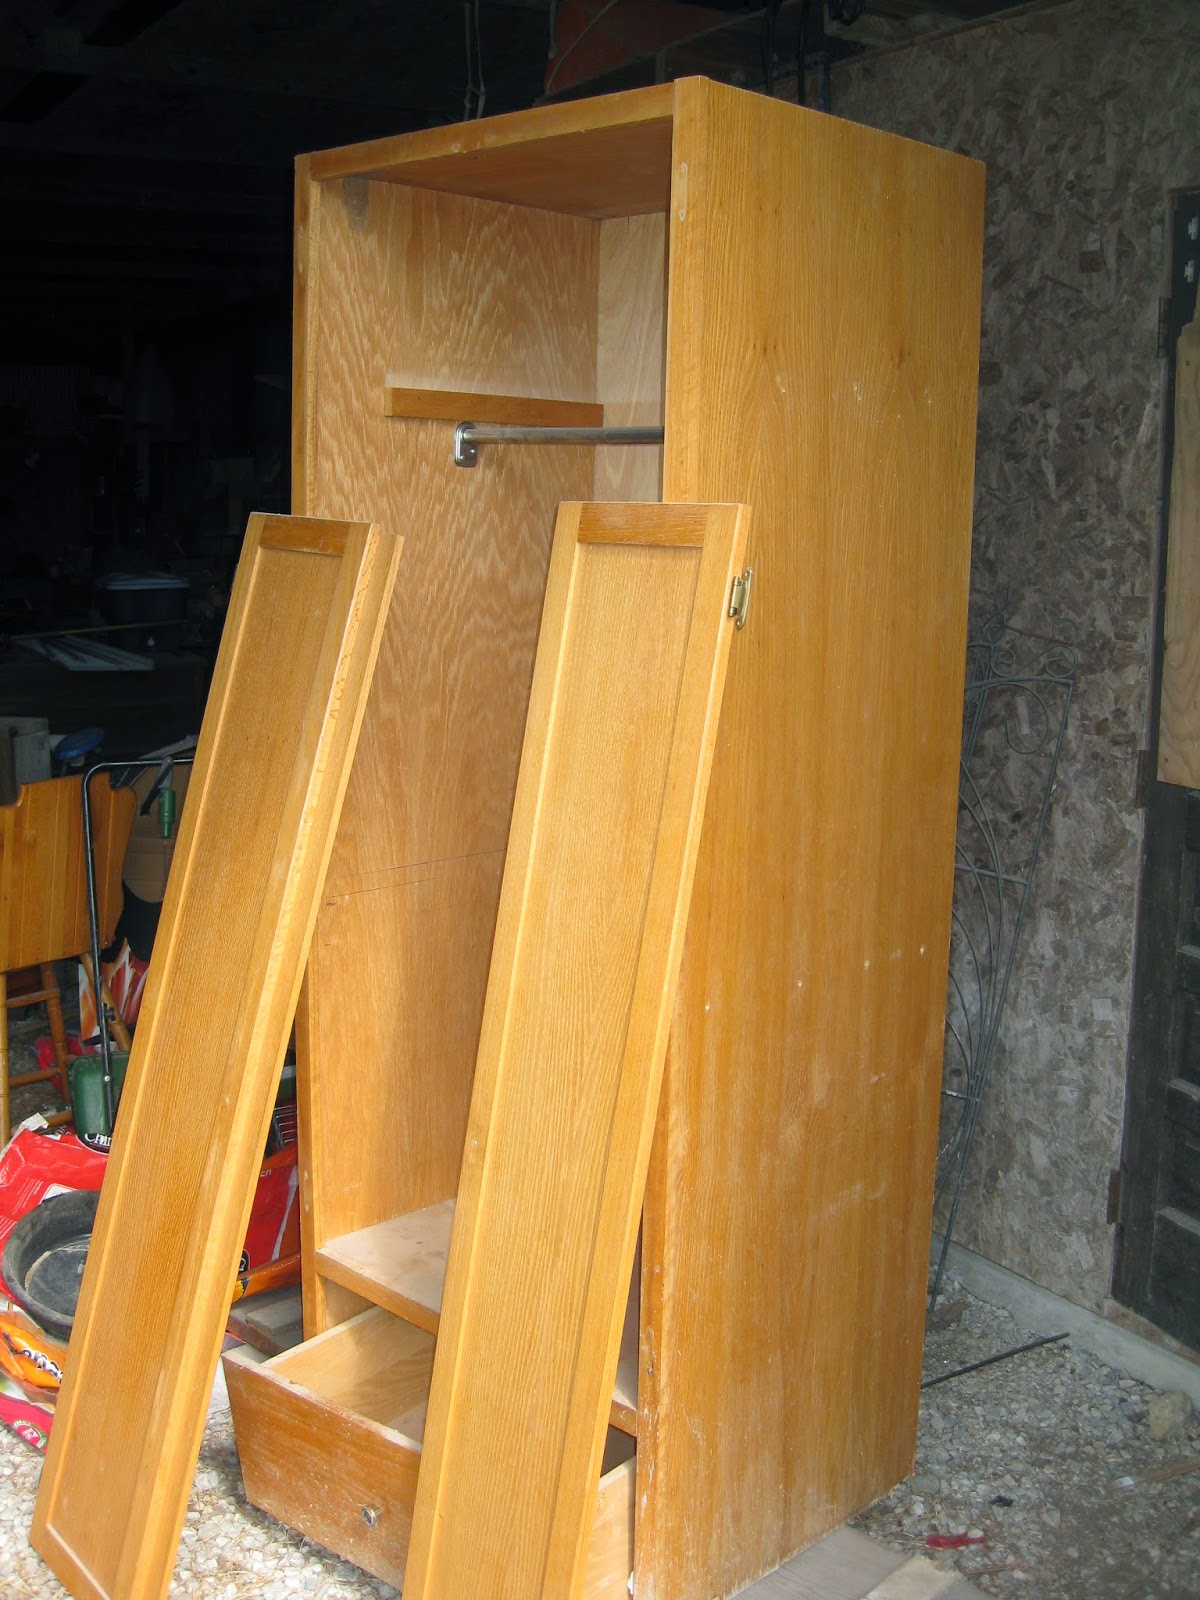
So, the history of this piece, is that a neighbor/friend of my parents' custom built it for my older sister's room, I'm going to guess about 1995. Mom said they told him the measurements they needed, and the price they could pay, and this is what he built. I have no idea what it's made out of - I'm assuming maple or pine. The doors are solid, but the sides are a veneered particleboard.
I was so gung-ho to get the project started, I forgot to take good "before" pictured until after I had started dismantling it.
 |
| My sister had later added an interior shelf (note the screw holes) and exterior hooks. (I had already removed them at this point.) |
 |
| The backing had come loose almost completely. (I guess Paul did help out on this: he nailed it back on with finishing nails right before we moved it into the final place in our room.) |
 |
| There was some water damage along the bottom. I didn't worry about this too much, because I knew it could be covered with a piece of trim. |
I didn't take a lot of pictures of the process. For one, snoring boring for you if this isn't your thing. For two, I was "in the zone" and focused on getting it done. (Babies only nap so long!)
I patched the screw and hook holes with wood putty. Then, I sanded it. I wasn’t positive how much to sand, because the finish was so close to a natural color, it was hard to tell when you were to bare wood. So I sanded it twice with an electric sander (100 grit), and once by hand. (220 grit) (Who knew: sanding can make you SORE!) Some places I sanded less (like once by hand), since I knew they wouldn’t show behind the doors. And it turns out they accepted the stain just as well, which makes me question the necessity of sanding to bare wood, but anyways…..
I did use a pre-stain conditioner. I don't know if that's really necessary, but it was recommended, and I figured I needed all the help I could get!
I used Minwax gel stain in “Hickory.” Gel was recommended since it would be stained while standing up (drip hazard). It had good reviews, but I did have some trouble with it gumming up. It still felt a bit tacky in a couple spots, even after two days between coats. (I only did two coats.) It may be because the temperature was around 90, with typical Kansas humidity, when I was doing this. When I tried to rub off the excess stain, the lint (in what I thought was a lint-free rag!) got stuck in it, especially at the end of the pieces. This really stressed me out, and I read up on what to do, and everything said “don’t sand after staining!” Normally, I’m a follow-the-rules kind of gal, but I followed my gut instinct and… I sanded it. I used a really fine steel wool, and it wasn’t sanding, so much as petting those areas with the stuck-in lint. It seemed to knock out the lint fibers and felt much smoother prior to adding the clear coat.
I used Minwax Semi-Gloss Polyurethane for the clear coat. I used 000 steel wool between coats, and buffed it down good (because this is what Google said to do!). The can recommend three coats, but I only did two. It's not like a kitchen cabinet, that would get lots of use and abuse!
 |
| This is when I started to get excited - nigh unto giddy. All that was left was the trim board between the doors. |
Now.... What to use for hardware? I knew I didn't want the tacky brass that had been on it. So, now... Buy all new, or.... Spray paint?
 |
| Original brass, "Oil Rubbed Bronze" (left), and "Anodized Bronze" (right, which I already had). |
 |
| Oil Rubbed Bronze is the winner! And I think I'm going to leave the screws. I kind of like the contrast. Weird, considering I'm OCD. But I'm also lazy, and painting those things? No thanks. |
I knew I wanted a cup pull for the drawer. I had to go to 3 hardware stores in town to find one that had any, and of course they only had it in silver. But I was not going out of town to hunt for this one thing. Another reason I decided to spray-paint the hinges and knobs - ensuring everything matched!
 |
| I did this little trick I saw somewhere online - photo copied the screw holes and used the paper as a guide - worked perfectly! |
 |
| My photography, however, leaves a lot to be desired....... |
 |
| Love, love, LOVE! |
 |
| Obviously, this is Paul's "closet." |
 |
| I wasn't really that careful on the interior. |
 |
| The unfinished wood shows at the bottom under the drawer. |
 |
| But the water damage does not! No trim needed. |
BEFORE:
Now I can't wait to get started on my next project.......


2 comments:
Nice! Really, really pretty. I would have never noticed the imperfections if you hadn't shown them!
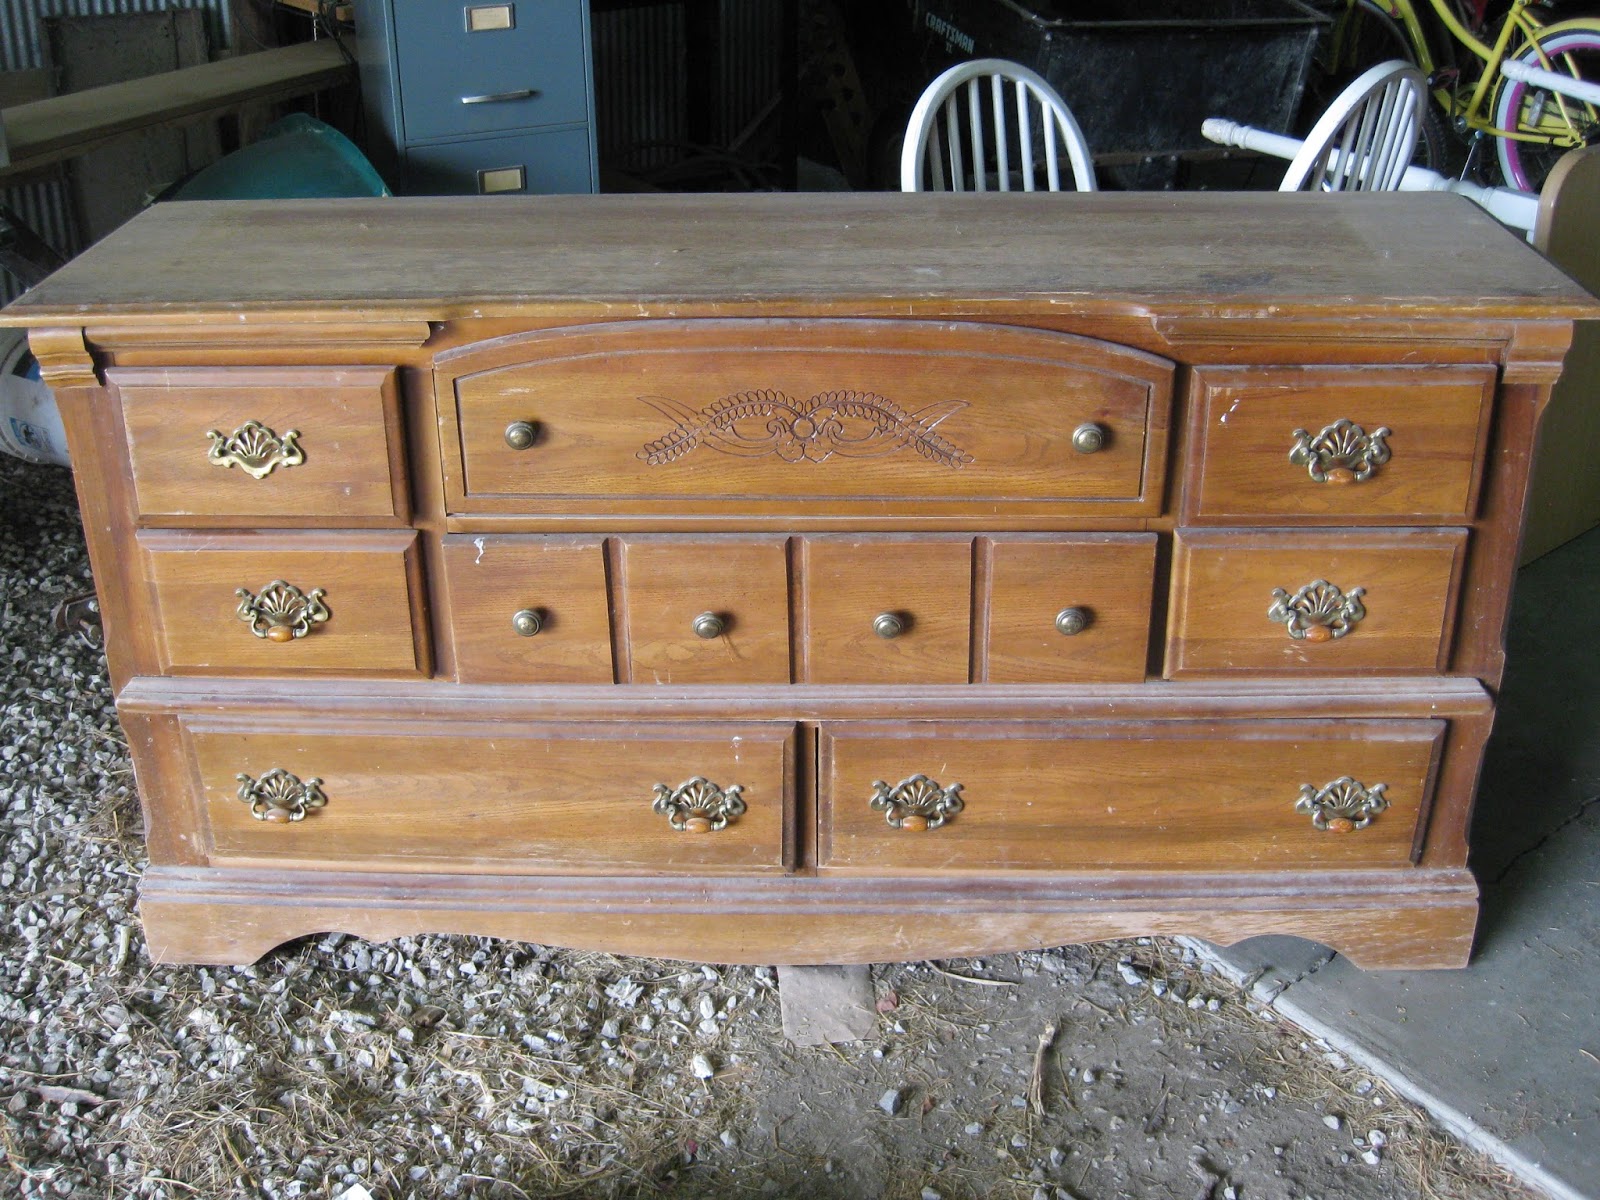
I have a dresser just like that that I'd like to redo--let us know how it goes!
Post a Comment